Balsamiq Mockups and Ubuntu Linux 13.10 64bit / Adobe Air

Ich wollte mir kuerzlich Balsamiq Mockups unter Ubuntu Linux 13.10 64bit installieren. Dafuer muss ich Adobe Air installieren, das wird aber seit 2011 fuer Linux nicht mehr weiter gepflegt. Die Version 2.6 ist die letzte offizielle Version.

Um Adobe Air zu installieren waren die folgenden Schritte notwendig:

  1. Eventuell i386 Architektur hinzufuegen
    sudo dpkg --add-architecture i386
    sudo apt-get update
  2. i386 Bibliotheken fuer Adobe Air installieren
    sudo apt-get install libxt6:i386 libnspr4-0d:i386 libgtk2.0-0:i386 libstdc++6:i386 libnss3-1d:i386 lib32nss-mdns libxml2:i386 libxslt1.1:i386 libcanberra-gtk-module:i386 gtk2-engines-murrine:i386
  3. libgnome-keyring0:i386 installieren:
    sudo apt-get install libgnome-keyring0:i386
  4. Symlink erzeugen, damit Adobe Air diese erkennt:
    sudo ln -s /usr/lib/x86_64-linux-gnu/libgnome-keyring.so.0 /usr/lib/libgnome-keyring.so.0
    sudo ln -s /usr/lib/x86_64-linux-gnu/libgnome-keyring.so.0.2.0 /usr/lib/libgnome-keyring.so.0.2.0
  5. Adobe Air installer herunterladen und installieren:
    cd /tmp
    wget http://airdownload.adobe.com/air/lin/download/2.6/AdobeAIRInstaller.bin
    sudo chmod +x AdobeAIRInstaller.bin
    sudo ./AdobeAIRInstaller.bin
  6. Danach konnte ich ohne Probleme die Balsamiq Mockups 64bit Debian Datei herunterladen und installieren. Herunterladen von:

    und dann installieren mit:

    sudo dpkg -i MockupsForDesktop64bit.deb

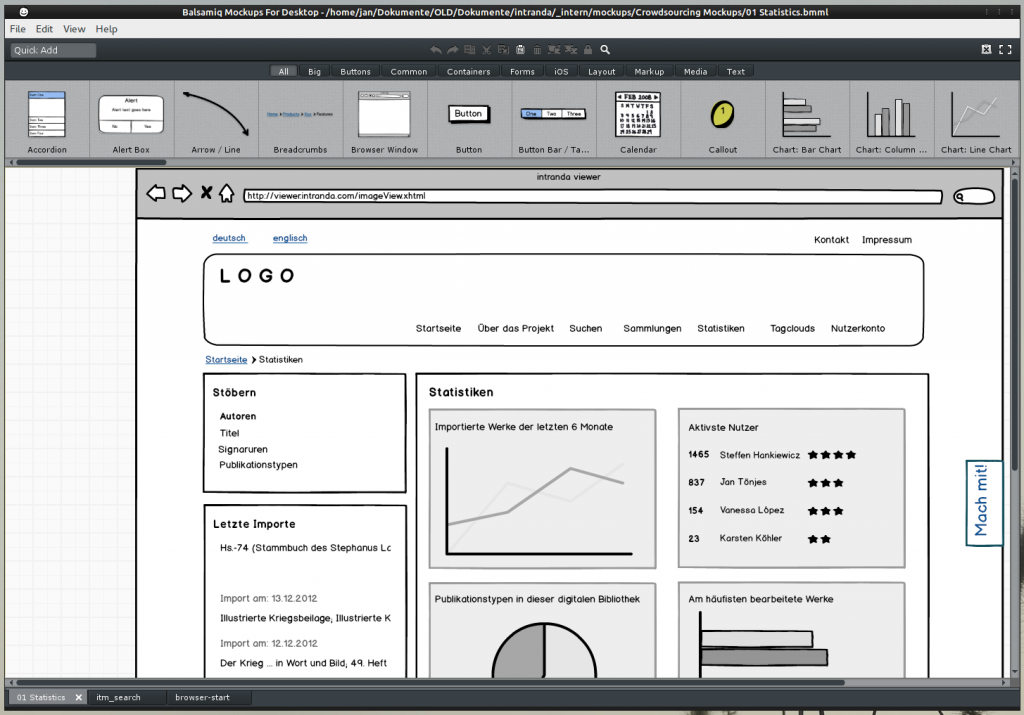
    Balsamiq kann man dann zum Beispiel vom Terminal aus starten mit:

    /opt/Balsamiq Mockups/bin/Balsamiq Mockups
    Bildschirmfoto vom 2014-04-05 10:07:25

Notizen: Hyper-V mit Partitionen > 2TB ; Partition-Alignment

Wenn man Partitionen groesser als 2TB enlegen moechte, muss man GPT Label vergeben. Dazu hatte ich vor einiger Zeit schonmal was geschrieben. Kurzzusammenfassung:

parted /dev/DEVICE
mklabel gpt
quit

Wenn das Device an einer mit Hyper-V virtualisierten VM haengt und man ext4 als Dateisystem verwenden moechte darf dieses aber _nicht_ aus parted heraus erstellt werden, sondern man muss es mit der Option -E nodiscard erstellen (link):

mkfs.ext4 -E nodiscard /dev/DEVICE

Ausserdem gibt es beim Erzeugen von Partitionen mit parted manchmal die folgende Fehlermeldung:

Warning: The resulting partition is not properly aligned for best performance.

Abhilfe schafft wenn man sich da anschaut wo die Partition am besten beginnen soll, ich zitiere hier nun einfach dreist aus dem Blog „Rainbow Chard“ und dem Artikel „How to align partitions for best performance using parted„:

  • Get the alignment parameters for your array (remember to replace sdb with the name of your device as seen by the kernel).
    # cat /sys/block/sdb/queue/optimal_io_size
    1048576
    # cat /sys/block/sdb/queue/minimum_io_size
    262144
    # cat /sys/block/sdb/alignment_offset
    0
    # cat /sys/block/sdb/queue/physical_block_size
    512
  • Add optimal_io_size to alignment_offset and divide the result by physical_block_size. In my case this was (1048576 + 0) / 512 = 2048.
  • This number is the sector at which the partition should start. Your new parted command should look like
    mkpart primary 2048s 100%

    The trailing ‘s’ is important: it tells parted that you’re talking about sectors, not bytes or megabytes.

  • If all went well, the partition will have been created with no warnings. You can check the alignment thusly (replacing ’1′ with the partition number if necessary):
    (parted) align-check optimal 1 
    1 aligned